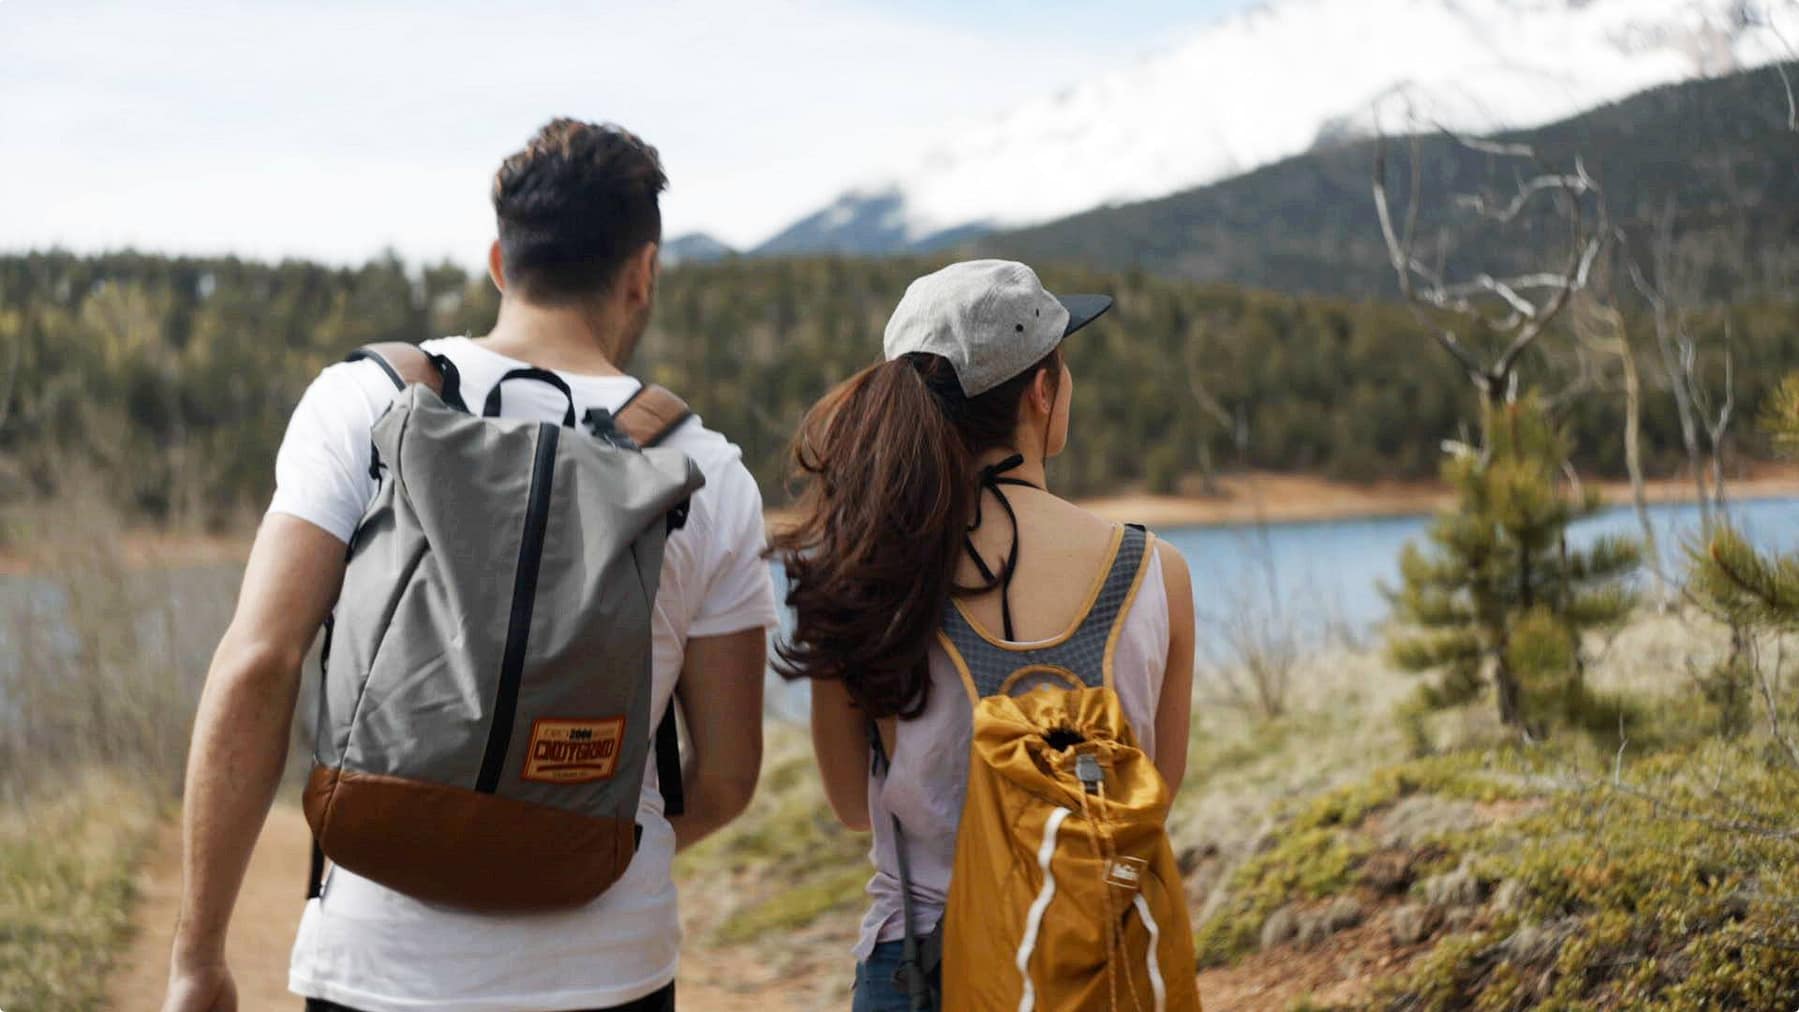
Hiking Pikes Peak
Colorado was built on conquering mountains, so it’s no surprise that hiking Pikes Peak is a beloved challenge in Colorado Springs. That big, beautiful mountain dominates the skyline no matter where you are in the region—and it calls out to adventurers who want to stand on top of it. But before you lace up your boots, know this: Pikes Peak is a genuine fourteener (the 31st highest of Colorado’s 54 peaks above 14,000 feet), and this is not a casual Sunday morning hike. Here’s what you need to know before you go.
Hiking Pikes Peak is not for everyone
We love that you’re considering this challenge, but we want you to be realistic about what you’re signing up for. This is a long, hard climb with over 7,400 feet of elevation gain (2,255 m)—basically a half-marathon in hiking form. Only attempt this if you’re healthy, comfortable with long-distance hiking, able to navigate difficult terrain, and capable of high-cardio activity in low oxygen. Before you commit, ask yourself honestly:
- Can you hike 13.5 miles (22km) uphill? What about 27 miles (43km) round trip if you don’t arrange a ride down?
- Can your knees handle a 13.5-mile descent on rocky, uneven trail?
- Can you scramble over boulders, navigate steep switchbacks, and duck under or climb over fallen trees?
- How does your body handle cardio exercise at altitude with limited oxygen?

Hiking Pikes Peak via Barr Trail
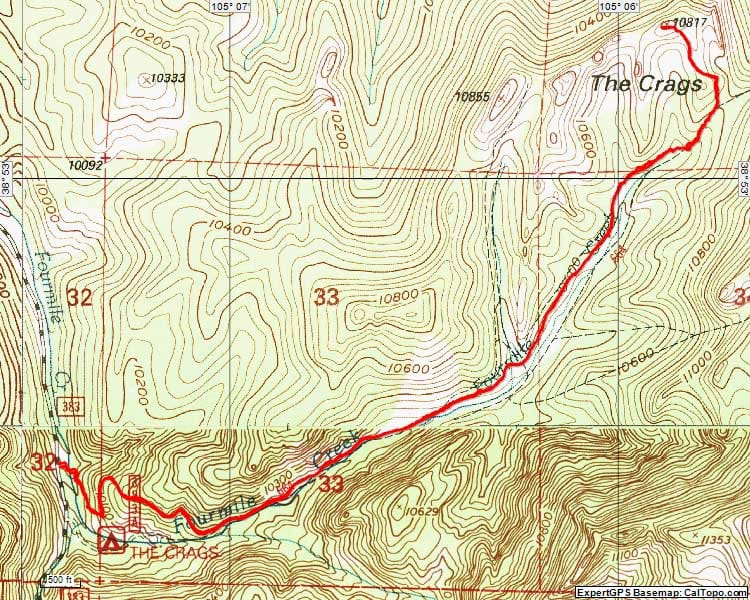
Barr Trail is the main route to hike Pikes Peak—and the only trail that goes all the way to the summit. Built by Fred Barr in the early 1900s and rebuilt by the U.S. Forest Service in the late ’50s, it’s a well-maintained 13.5-mile route from Manitou Springs to the top.
MILES 1-6.5 (4-7 HOURS)
- Trailhead: Manitou Springs (Elevation: 6,707 feet / 2,044 m)
- Signage: The trail is clear to follow, but signage is limited—bring a map
- Miles 1–6: You’ll gain nearly 4,000 feet (1,200 m) in elevation. The first three miles are the hardest of this section, with steep climbs and tight switchbacks
- Trail fork: Past the Fremont Experimental Forest sign, stay on the single-track path—not the wide path on the left
- Barr Camp: Stop here to rest or stay overnight (Elevation: 10,186 feet / 3,100 m). More details below.
MILES 6.5-13.5 (4-7 HOURS)
- Miles 6.5–8.5: The first two miles out of Barr Camp are gentle—a nice way to start the second leg
- Mile 9.5: The trail gets steeper with lots of switchbacks similar to the initial climb. You’ll pass the A-frame, an unmanned six-person shelter (first-come, first-served) at 12,098 feet (3,687 m)
- Three miles to summit sign: Take the sharp right onto the narrow trail. This is where the most difficult section begins
- Breathing: Oxygen is thin here. Breathe slow and steady with strong exhalations. Switchbacks are tight and the terrain is rocky and uneven
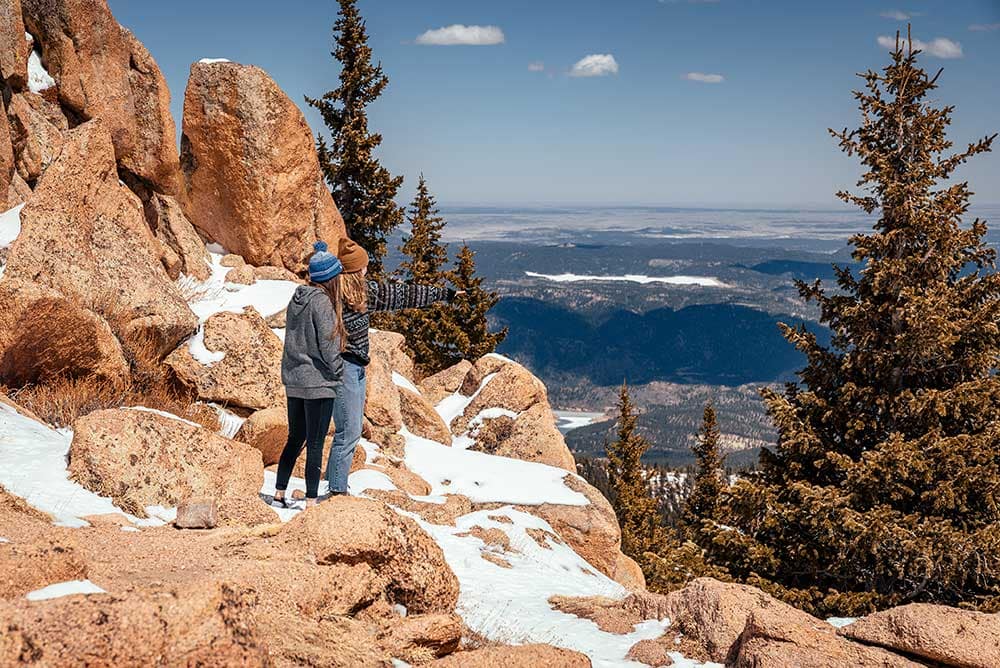
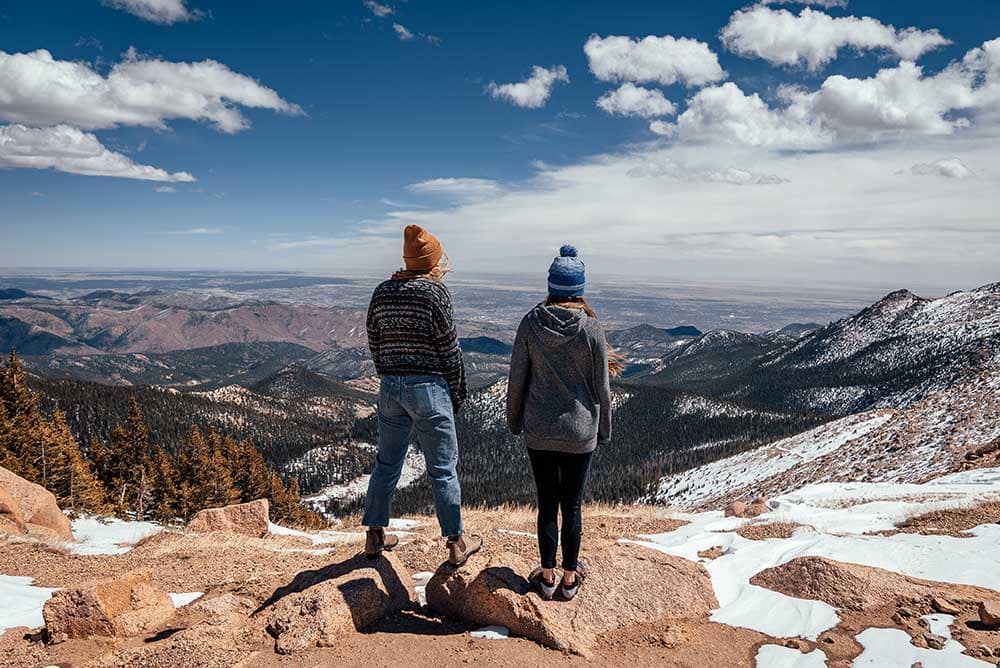
- Summit: You made it to 14,115 feet (4,302 m)!
A note about the Incline
Yes, you can include the Incline in your Pikes Peak summit attempt. But the Incline is its own grueling challenge, and we only recommend combining them if you’re incredibly fit, experienced, and carrying extra water. Don’t attempt this combination on a whim.
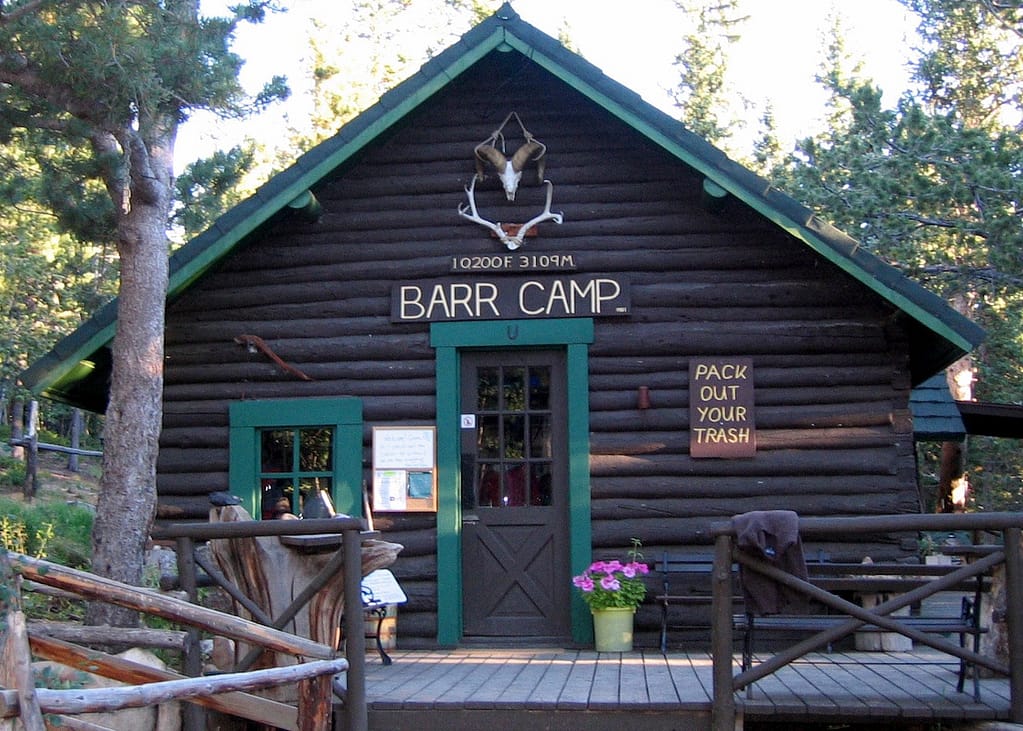
Stopping at Barr Camp
Barr Camp is open year-round and makes an excellent halfway point to rest or spend the night. Reserve ahead for breakfast and dinner service (dinner is available on certain nights; dry meals can be purchased otherwise). Accommodations include hostel-style cabins, lean-tos, and tent sites. Reservations are required.
What to bring:
- Water: No potable water available—bring your own or a filtration system
- Tent and camping gear: If you’re camping outside the cabins or lean-tos
- Sleeping bag: There’s no heat in any structures
- Flashlight or headlamp
- Cooking utensils: If prepping your own meals
Learn more about Barr Camp accommodations at barrcamp.com.
Hiking the popular Crags Trail
by "Hiking Bob" Falcone
The Crags Trail is one of the most popular trails in the Pikes Peak Region. Also known as Forest Service Trail 664 in the Pike National Forest, it’s a moderate six miles round trip. It also serves as the starting point for the Devils Playground Trail, an alternate route to the summit of Pikes Peak.
Trail Description
The trail starts across from a large parking lot just before the Crags Campground. The first half-mile from the parking lot, and the last half-mile before the rocky prominence are most difficult. The trail is easy to follow, and in the spring and summer is full of wildflowers. The changing colors of fall are also breathtaking, and in winter, it’s a great trail for snowshoeing or cross-country skiing. Camping is allowed along the trail corridor, but campsites must be at least 300’ from established trails and waterways.
How to get there
From Colorado Springs, take U.S. 24 west through Woodland Park to Divide. Turn left (south) on Colorado Highway 67 and travel about 4 miles. Forest Service Road 383 is on the left, just past Mueller State Park entrance. The trailhead is about 3 miles down FS 383—a dirt road that’s usually passable by any vehicle but can be bumpy. Use caution after heavy rain or snow. Seasonal pit toilets available at the trailhead.
Hiking Pikes Peak FAQs
What should I bring for water on the hike?
There’s no potable water available on Pikes Peak. Bring a hydration pack (like a CamelBak) filled with water and a filtration system so you can refill from streams along the way. Hydrate frequently—the climb dehydrates you quickly, and dehydration is a fast track to the hospital instead of the summit.
What kind of food should I pack?
Bring high-protein snacks like energy bars and beef jerky, plus salty options like peanuts and crackers. Trail mix works great. Be careful with sugary snacks – a sugar crash halfway up the mountain is no fun when you still have miles of climbing ahead.
How should I dress for the hike?
Dress in layers and pack extra clothing including a warm hat, gloves, and an insulating layer. Weather can change drastically from trailhead to summit – you might encounter both blazing heat and snow in a single hike. Good hiking boots are essential. (Please don’t try this in flip-flops.)
How do I prepare for the altitude?
If you’ve never hiked at high altitude, take a few practice hikes at places like Cripple Creek (around 10,000 feet) to see how your body responds. Conserve energy, pace yourself, and breathe slow and steady with strong exhalations. This isn’t the Pikes Peak Marathon – hike smart.
When should I start the hike?
Leave early in the morning to give yourself plenty of time to reach the summit or Barr Camp before dark. In summer, an early start helps you avoid peak heat and reach shelter before afternoon thunderstorms roll in (lightning makes hiking extremely dangerous). In winter, daylight is much shorter, which limits your hiking window significantly.
Where can I park?
Parking is available at the trailhead with reservations or at Iron Springs Chateau Melodrama. Many lots don’t allow overnight parking, so plan ahead if you’re camping on the mountain. More parking info here.
What other gear should I bring?
- First aid kit
- Toilet paper and bags to pack out your waste
- Map and compass
- GPS device
- Knife or multi-tool
- Cell phone (service will be spotty)
- Extra socks
- Rain gear
- Sunscreen and sunglasses
- Lightweight hat or hiking umbrella
Weather on Pikes Peak
Weather on Pikes Peak changes drastically from hour to hour. You might encounter blistering heat at the trailhead and snow at the summit – sometimes on the same hike. Pack clothing layers, rain gear, sunscreen, sunglasses, and a lightweight hat or hiking umbrella. Yes, this adds weight to your pack, but it’s essential. Check your local mountain outfitter for lightweight versions of this gear, and stop at Barr Camp to check summit conditions before continuing.
Can you hike Pikes Peak in winter?
Short answer: don’t. At least not for your first summit attempt.
We know winter in Colorado Springs is beautiful – quieter trails, mostly mild weather, 300+ days of sunshine. But winter hiking on Pikes Peak is a different challenge entirely, and we’ve seen too many rescues to recommend it casually. Here’s why:
Limited daylight
- Short days: The sun sets far earlier in winter, giving you limited time to complete the trek before dark. Unless you’re a mountaineer equipped for winter overnights, you don’t want to be on Pikes Peak after dark.
- Temperature drops: Temps plummet after sundown.
- Early summit closure: The summit closes earlier, leaving you with only emergency transport options. See “Getting Down Pikes Peak” below.
- Snow on trail: Shaded sections stay snow-covered even in dry years, slowing your pace without proper footwear.
- Harder rescues: Search and rescue teams have a harder time finding you in the dark.
- Night hazards: Wrong turns in the dark can lead to ravines, wildlife encounters, and loose rock near dangerous drop-offs.
Dangerous blizzards
- Sudden storms: Blizzards can hit suddenly with heavy snowfall that obscures the trail and makes it easy to wander off the edge of a drop-off.
- High winds: Wind drops temperatures to dangerous lows and destroys visibility with blowing snow. It also creates large drifts that slow you down.
- Frostbite and hypothermia: If you left thinking it would be an easy sunny hike and have inadequate winter gear, you risk frostbite, hypothermia, and death.
- Rescue challenges: Storms make you harder for search and rescue to find, and cell service is spotty on the mountain. There are also far fewer fellow hikers who might be able to help.
Getting down Pikes Peak
Once you reach the summit, you need a plan to get back down. The 13.5-mile hike down is hard on your knees and takes several hours—many hikers stop at Barr Camp for the night. Plan your descent before you start climbing. Here are your options:
Best ways to get down
- Hike back down: The full round trip is 27 miles. Plan to stop at Barr Camp if needed and make reservations in advance.
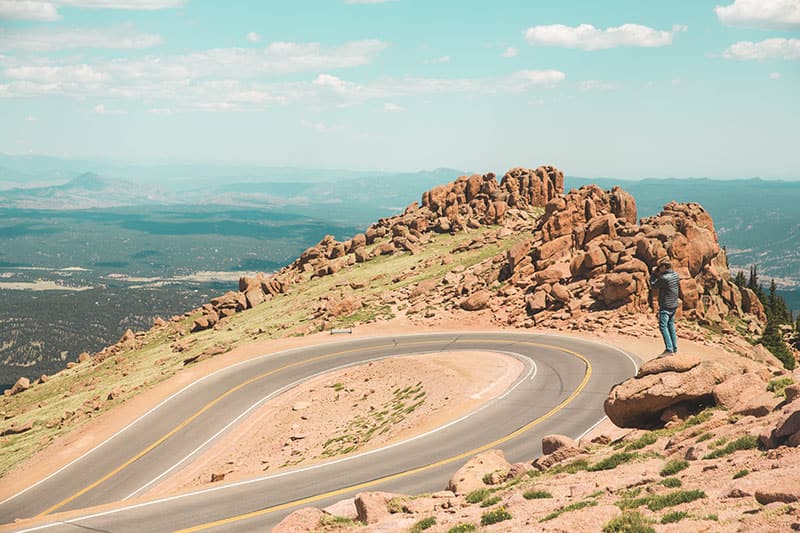
- Get picked up: Have a friend meet you at the summit and drive you down (fees apply). Note: If the Pikes Peak Highway or summit is closed to visitors, pickups aren’t allowed.
- Ride the Cog Railway: Buy a one-way ticket from the train conductor if space is available (subject to availability).
- Use a rideshare service: Rocky Mountain Ride offers one-way rides—call ahead to arrange: 719-362-6332 | myrockymountainride.com
Important: Don’t rely on strangers to give you a ride down. It’s unreliable and potentially dangerous. You must have a solid plan before you climb.
Emergency transportation
If you won’t make the summit by posted closing hours, turn around. Emergency transport from Pikes Peak staff is available but comes with fees:
- $20/person during operating hours: Emergency transport only (not a regular service)
- $100/person after closing: If the highway is closed but staff is still on-site (minimum charge based on circumstances)
- $500/person after-hours rescue: If you request rescue after staff has left (minimum charge based on circumstances)
If you experience an emergency, call for help immediately. Don’t be embarrassed – search and rescue teams train hard to help people get home safely. Safety comes first.
Emergency transport is for emergencies only. Payment is due at time of transport.